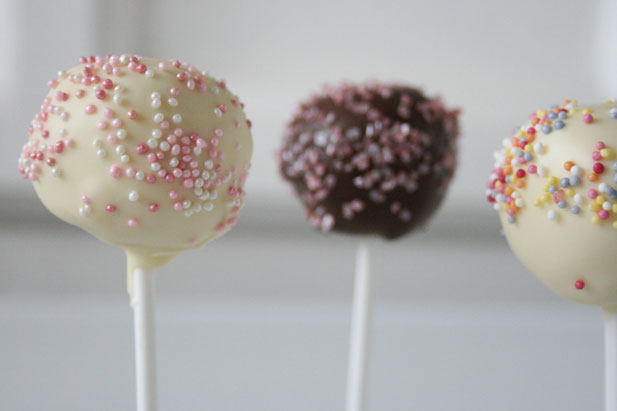
How to make cake pops
 The cake pop was preceded by its very close relative, the cake ball, which is a sort of cake truffle. These became popular in the USA a few years ago and today the Cake Ball Company in Texas makes over twenty different flavours, including pina colada and Jack Daniels pecan pie.
Subsequently, cake pops were made famous by the amazingly creative food blogger Angie Dudley (otherwise known as Bakerella). She started experimenting with cake balls on a stick, shaping them into all sorts of clever designs like cupcakes, sheep, reindeer and even Hello Kitty. Her recipes quickly went viral, and it looks like cake pops are here to stay. You can even find them at Woolworths these days.
Below is our very own tried and tested recipe, for those of you who would like to try some homemade cake pops. You can also head this way to make cake pops using a cake pop pan.
Ingredients (makes approximately 20 pops)
A 23×23 cm vanilla sponge cake
60g butter
2 cups icing sugar
2 Tbsp milk
400g chocolate
Sprinkles/nuts for decoration
20 lollipop sticks
You will also a need a mixing bowl and a large wooden spoon.
Method
1. Trim about 1cm off each side of the cake, discarding the ‘crusts’. Now crumble the cake into fine crumbs in a large mixing bowl.
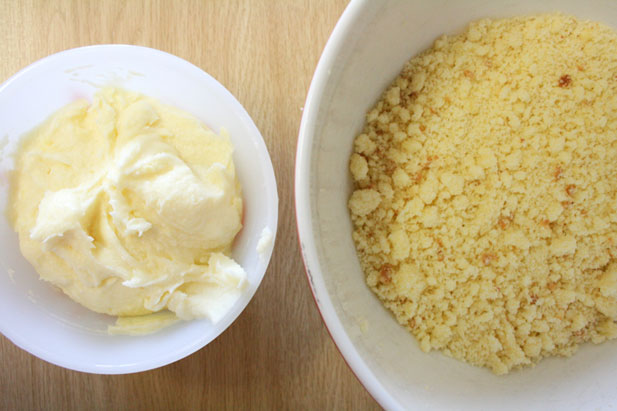 2. With an electric mixer, mix the butter, icing sugar and milk together to form a buttercream.
3. Spoon the buttercream into the mixing bowl with the cake, and mix together with a wooden spoon.
4. Now roll your mixture into balls about 2cm in diameter. Lay them on a tray and insert the lollipop sticks.
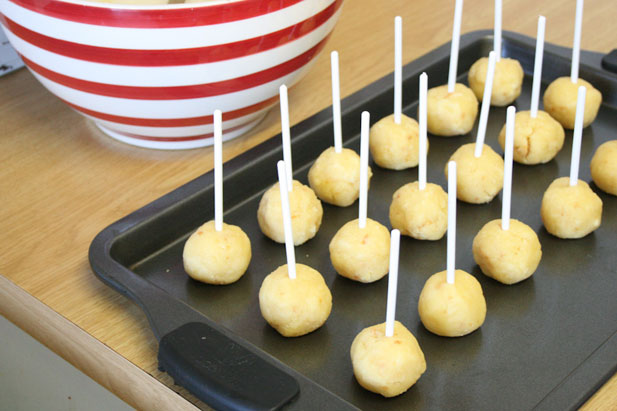 5. Freeze your cake balls for about ten minutes.
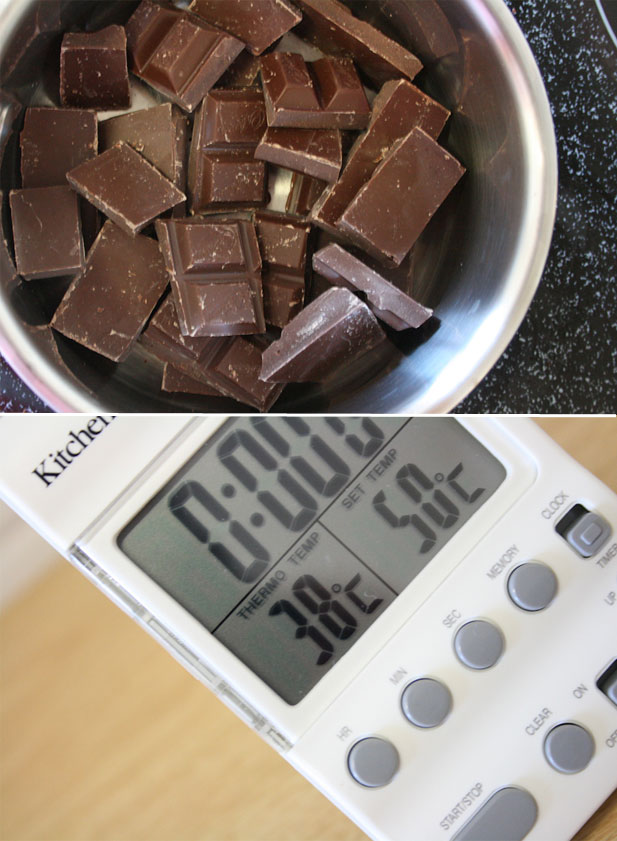
6. In the mean time, melt your chocolate. You will need to temper your chocolate so that it is shiny and grease-free. (For instructions on how to temper your chocolate, have a look at the Science Behind Tempering Chocolate.)
 7. One by one, spoon some chocolate over your frozen cake pops and add your decorations while the chocolate is still warm.
8. Leave the pops in the fridge to set for a few minutes. (I stuck mine in an old piece of polystyrene to keep them upright).
 Congratulations. You have just joined the food trendsetters of the world and made your first cake pops. Of course, you can also experiment with different flavours, colours and decorations in future and if they float your baking boat, invest in a cake pop pan. Pinterest is a great place to look for inspiration – check out our article on Baking Inspiration from Pinterest, which we shared a few weeks ago.
Download print-friendly recipe.
Have fun, bakers.