Say hello to heart and star shaped cake pops
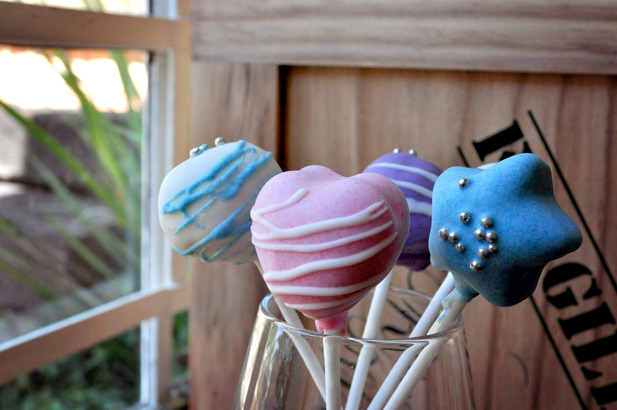
‘I am a graphic designer by day and a baker by night so you can imagine my excitement when the folks at Yuppiechef sent a Sweetly Does It Cake Pop Mould my way to test and play with. I have been wanting to make cake pops for a while now and these stars and hearts on a stick were a real hit. Let me tell you, as much of a process as it is, there are few things more rewarding!’ – Lexi
Ingredients:
For the cake
3/4 cup milk
4 Tbsp water
1/2 cup softened butter
4 eggs
1 and 1/4 cups white sugar
2/3 cup cocoa
1 and 1/2 cups flour
Pinch of salt
3 tsp baking powder
2 tsp vanilla essence
For the coating
500g white chocolate
Food colouring
Sprinkles
Instead of the white chocolate and food colouring, you can also use Candy Melts.
Method:
1. Preheat your oven to 180ºC before you get started. To make the batter for your cake pops, heat the milk, water and butter until the butter melts.
2. Beat the eggs and sugar until light and creamy.
3. Sieve the cocoa into the heated milk mixture.
4. Add half the flour and the salt to the egg mixture.
5. Now add the heated milk mixture to the egg and flour mixture and mix well by hand.
6. Mix in the rest of the flour, the baking powder and vanilla essence, again ensuring to do so by hand.

7. Grease the cake pop tray well. Use butter or Spray & Cook and then sprinkle flour over this making sure it is well dusted. (This makes it much easier to get the cake pops out after baking).
8. Carefully spoon the batter into each of the cake pop tray moulds, taking care to only fill them to 3/4 of the way up and bake for 15 minutes.
9. Remove your cake pops from the oven and allow to cool inside their silicone moulds, then pop them out carefully.

10. You can get going on your coating while your cake pops cool. Temper your chocolate – here’s how.
11. Once smooth, dip your cake pop sticks into the chocolate and then stick them into the pops about 3/4 of the way through.
12. Leave your pops with the sticks in them to set for about 20 minutes and then you can carefully dip the cake pops one by one into the chocolate to coat each one evenly.
13. I dipped all the ones I wanted to be white first and then added the colouring later to dip the pink and blue ones.
Some tips and tricks I learnt along the way
First off, once your egg has been beaten into the butter mixture, only mix by hand from then on. Over beaten eggs in this case result in a more ‘elastic’ batter which sticks to the mould and is more crumbly once baked, making dipping impossible.
Then, I will say this again, grease your mould really, really well. And dusting it with flour is also important. I underestimated this step and half of my cakes refused to pop out.
Be sure to secure the top part of your mould very well. For perfect shapes you need a perfectly set top part, otherwise your cakes are going to spill out of the sides when rising.
Speaking of spilling out of the sides, don’t fill your moulds more than ¾ of the way up. Regardless of how secure your mould is, if there is too much batter, it is going to push out the sides.
When dipping your cake balls, try to be as gentle and minimal as possible, too much swirling motion or too much chocolate will either result in a pop losing its stick, sliding down the stick due to excess weight or a lot of chocolate dripping all over the place.

With all that in mind, go forth a bake your way through it. It’s the lessons learnt along the way that make baking adventures like cake pops so rewarding.