Top 10 tips for food photography and styling from Sam Linsell
 If you want to take a really good photograph of food, you have to take a number of factors into consideration. There are the skills required to master the technical aspects of the camera; the understanding of light and how it affects your subject; the overall mood you want to create through your props and styling and, of course, the best way to present your food. Much like any creative endeavour, there are skills which can be mastered but the rest is an art and an expression. Find your own style and voice.
1. Learn as much as you can about your camera
This is the more technical aspect of the process and can easily be learned. I am a self taught photographer and have read numerous books and tutorials on the subject. I continue to read as there is always room for improvement. You can find everything you need online. Just keep looking, reading and learning. Read your camera manual. Shoot in manual mode if you are not already, as this is the only way you will learn about setting up your exposure and having control over your shot.
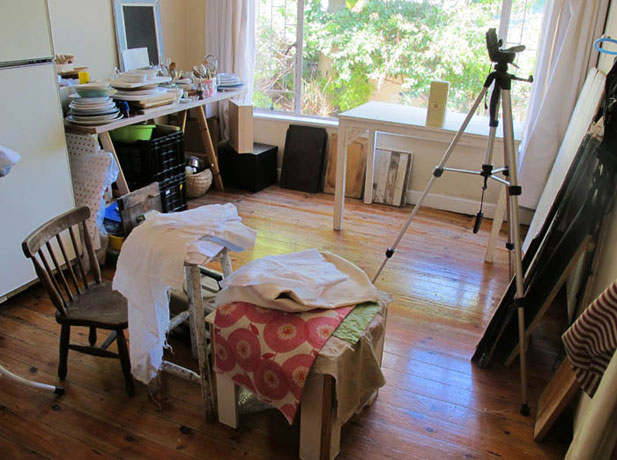
2. Understand light
Start developing an understanding of light and the relationship it has with your subject. Play around with trying to find the best light you can in the place where you shoot. I only shoot using natural light as a source because I prefer it. You can achieve excellent results using artificial light and can set it up so that it mimics natural light. It can also be more convenient if you are not able to shoot in the day.
 3. Consider the mood you want to create in the shot
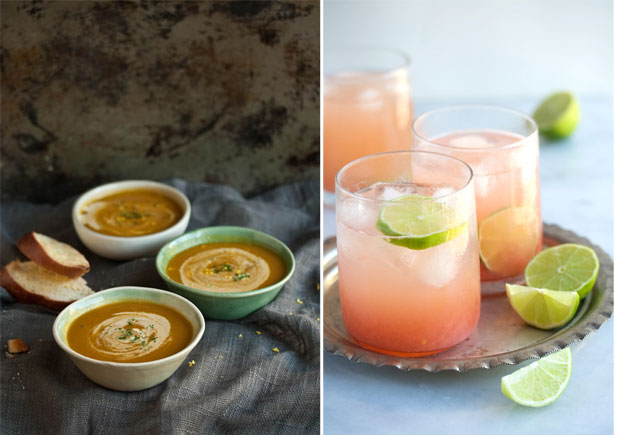
Decide on the overall style and mood you want to create and work towards composing it. Do you want it to be casual or formal? Do you want it to be dark or light? I find that the seasons and the type of food will often dictate how you present it. So, for example, if its winter and you are shooting a bowl of thick comforting soup, you may prefer to set it up so that it looks warm and cosy rather than a shot with a very white and ‘cool’ mood. If its summer and you are shooting fruit and ice cream, you may want to show it looking light and refreshing.
 4. Subject placement
Decide what the focus area of the shot is and place your subject in it. Use the rule of thirds as a guide. You can either have it centred or it can look more interesting off centre. Don’t pull the eye away from the subject through props that are bold and stand out, rather have a clear focus area and ensure that your food is always the primary focus. Decide where you want the viewer’s eyes to go and direct them to that area. So if the best part of the food is the topping, make sure that when you shoot it, the topping is the focus area. If you want the inside of a dish to be the focus, ensure that you make that part the focus area of the shot.
 5. Depth of field
This is the amount of subject matter in a shot that retains focus. A photograph with a shallow depth of field has a small part of the subject in focus and the background out of focus. This creates a lovely mood and can work really well with food photography. Medium depth of field has more of the subject in focus. A deep depth of field has everything in focus. Think about the food you are shooting and what sort of depth would suit it. My advice is to mix it up.
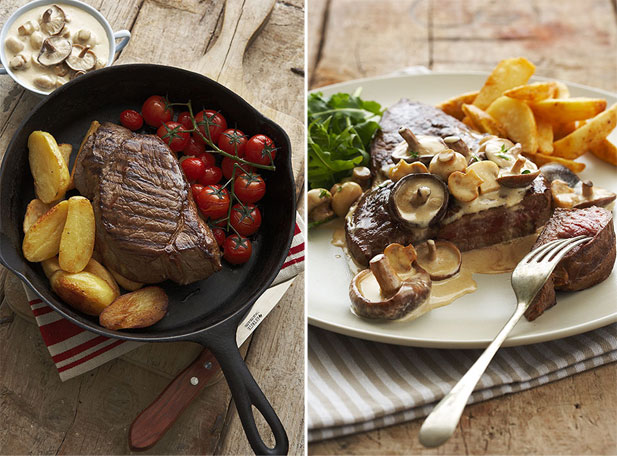
 6. Choose your perspective and angle
How close up do you want to go to the food? Do you want to show a whole scene or just a specific part? A lot of this will depend on the type of food and what you want to say. Some food can look very good close up and some dishes look better shot from a greater distance.
You can add a lot of interest by adjusting your angle too. Think of which shows off the food the best: an overhead angle or a 45 degree or 3/4 angle (or varying degrees of this). For example, a pizza looks best shot from above and food with intricate layers will always look better shot side on.
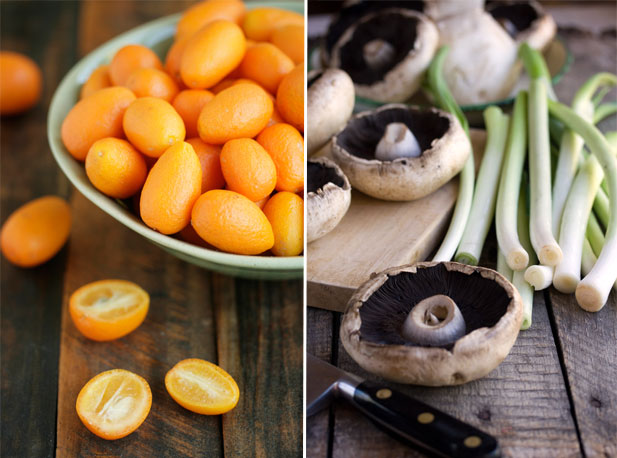
 7. Plan your props and garnishes
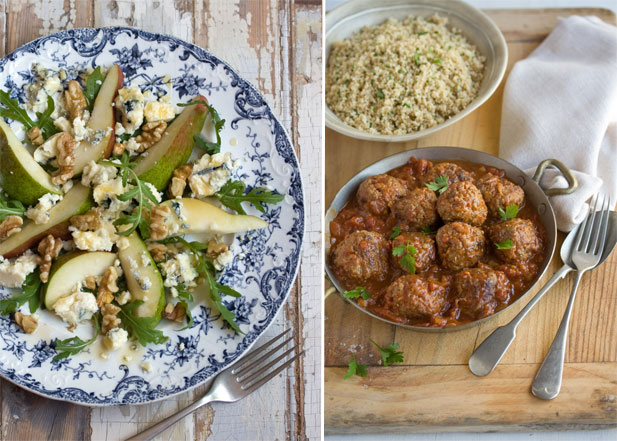
Think of the recipe and ingredients and use these elements as garnish to make the picture more interesting and to tell a story about the food. Choose the right colour props to match the food – contrasting colours work well. Build your shot, move things around, compose and add to it. Use fresh herbs as garnish or small leaves, whole spices etc. Think of ways to make the picture more interesting to look at and choose props that are linked in to the style of dish you are presenting. Ensure the props do not dominate the food – just like make-up on a fashion model, they are there to enhance. You could start with a basic selection of props and white crockery which always looks good for food. Colour adds vibrance and life. Vintage cutlery, crockery and textured backgrounds make the image more interesting and help make it richer to look at than just white linen.
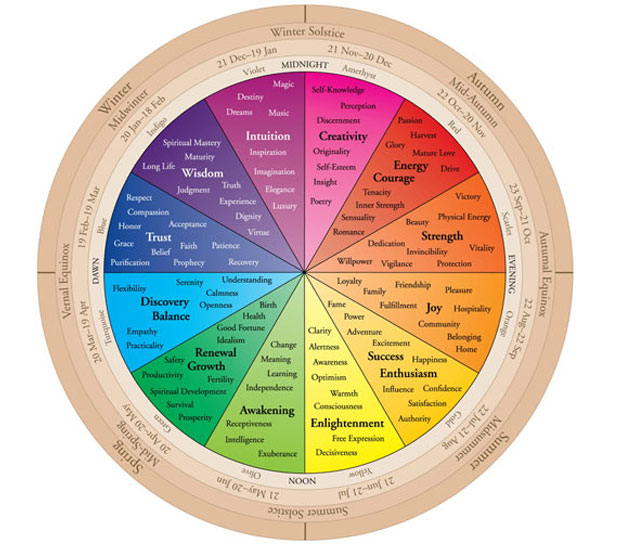
 8. Colour
The colour wheel shows which colours work together and which are opposite each other. Sometimes contrasting colours work really well to make food pop out. Play around and explore which colours look good next to each other. Look at food photographs that you like and notice the colours that are used.
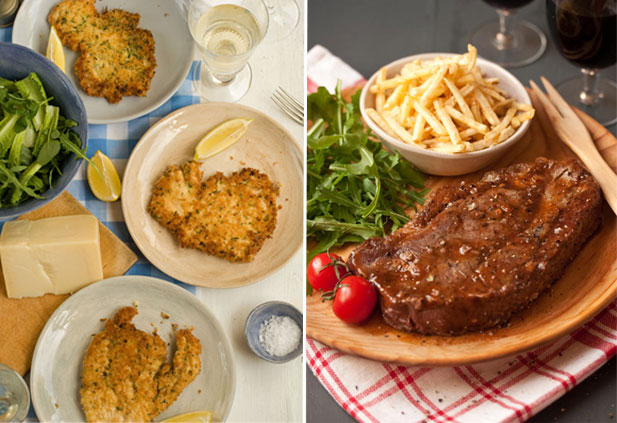
 9. Create texture in your food
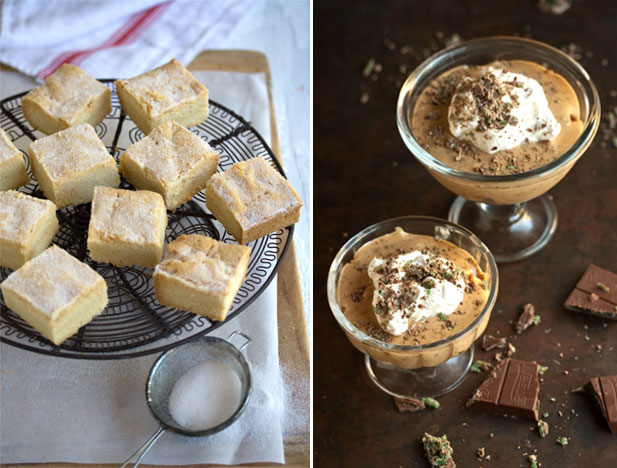
At the end of the day the food is the most important part of the shot so you need to make sure it looks delicious and has big appetite appeal. Using herbs as garnish – from ingredients in the recipe is an easy way to lift the look of a dish and add colour. It is important that the food does not look flat and lifeless. Smaller plates allow it to look fuller. Give the food height if it needs it and as much texture as possible. Salt, pepper, other spices sprinkled on and around the food works really well to achieve this. This can be added at the end, like croutons on the soup, a generous dollop of cream or a dusting of cocoa or sugar on a dessert.
 10. Practice
The only way to become better at anything is to practice and then practice some more. Don’t be afraid of making mistakes, it’s through the mistakes that we learn the most.
A big thanks to Sam for these tips. For more food styling inspiration, check out Sam’s new book, Drizzle & Dip and her blog.